August 14, 2011

Art Wall

We have a cool little "nook" in the playroom/media room. It is great for all of the storage boxes for the mountain of toys that wee boy has. I wanted to be able to pin up some of his artwork along the wall. I considered using this system from IKEA,
{IKEA}

But it seemed a little too industrial for the warm space. So, I grabbed this beautiful piece of hemlock at the hardware store.
I decided to spray paint it a beautiful blue color called Lagoon. Yes, this is the same color blue that my sister just redid her entire office in, even though I bought it without knowing that! ( Her guest blogger entry to come soon!)

I had just received a package with a whole bunch of styrofoam in it. I thought I would be really clever and use the styrofoam blocks to prop up the wood while I sprayed it. Note: this is NOT what you want to do. Apparently spray paint and stryrofoam don't mix.
Easily fixed, but what a bummer.

Then, I enlisted the help of my trusty sidekick to assist me in measuring out the space for the clips.


I used my trusty tube of E6000 to glue those babies down, and gave them 24 hours to cure.
 I nailed two hangers on the back. Then, using a long level and my favorite new toothpaste trick, I was able to get it up on the wall in no time.
{Via}
I love the way it showcases wee boy's art! Now that my Silhouette SD is here, I will be added some fun vinyl to the space above it. Stay tuned.

August 13, 2011

Chocolate Cabinet

After all my chocolate making, I was trying to find a way to incorporate a little chocolate into my house decor. I found this fabulous French ephemera over at The Graphics Fairy and was immediately drawn to it!
I knew it would be the perfect addition to a small cabinet that was handed down to me from my parents. It has a split-hinged top. I think it was originally a flour bin, but I need to ask my mom to tell me the story again. Isn't she adorable?
She sits in the library next to the tiny time out tuffet.

It has beautiful legs and detailing. When I was little I remember that we used it as side table for our (plaid!) couches. I love the way it smells when you lift open the top. Yeah, I smell my furniture. I am strange like that. 

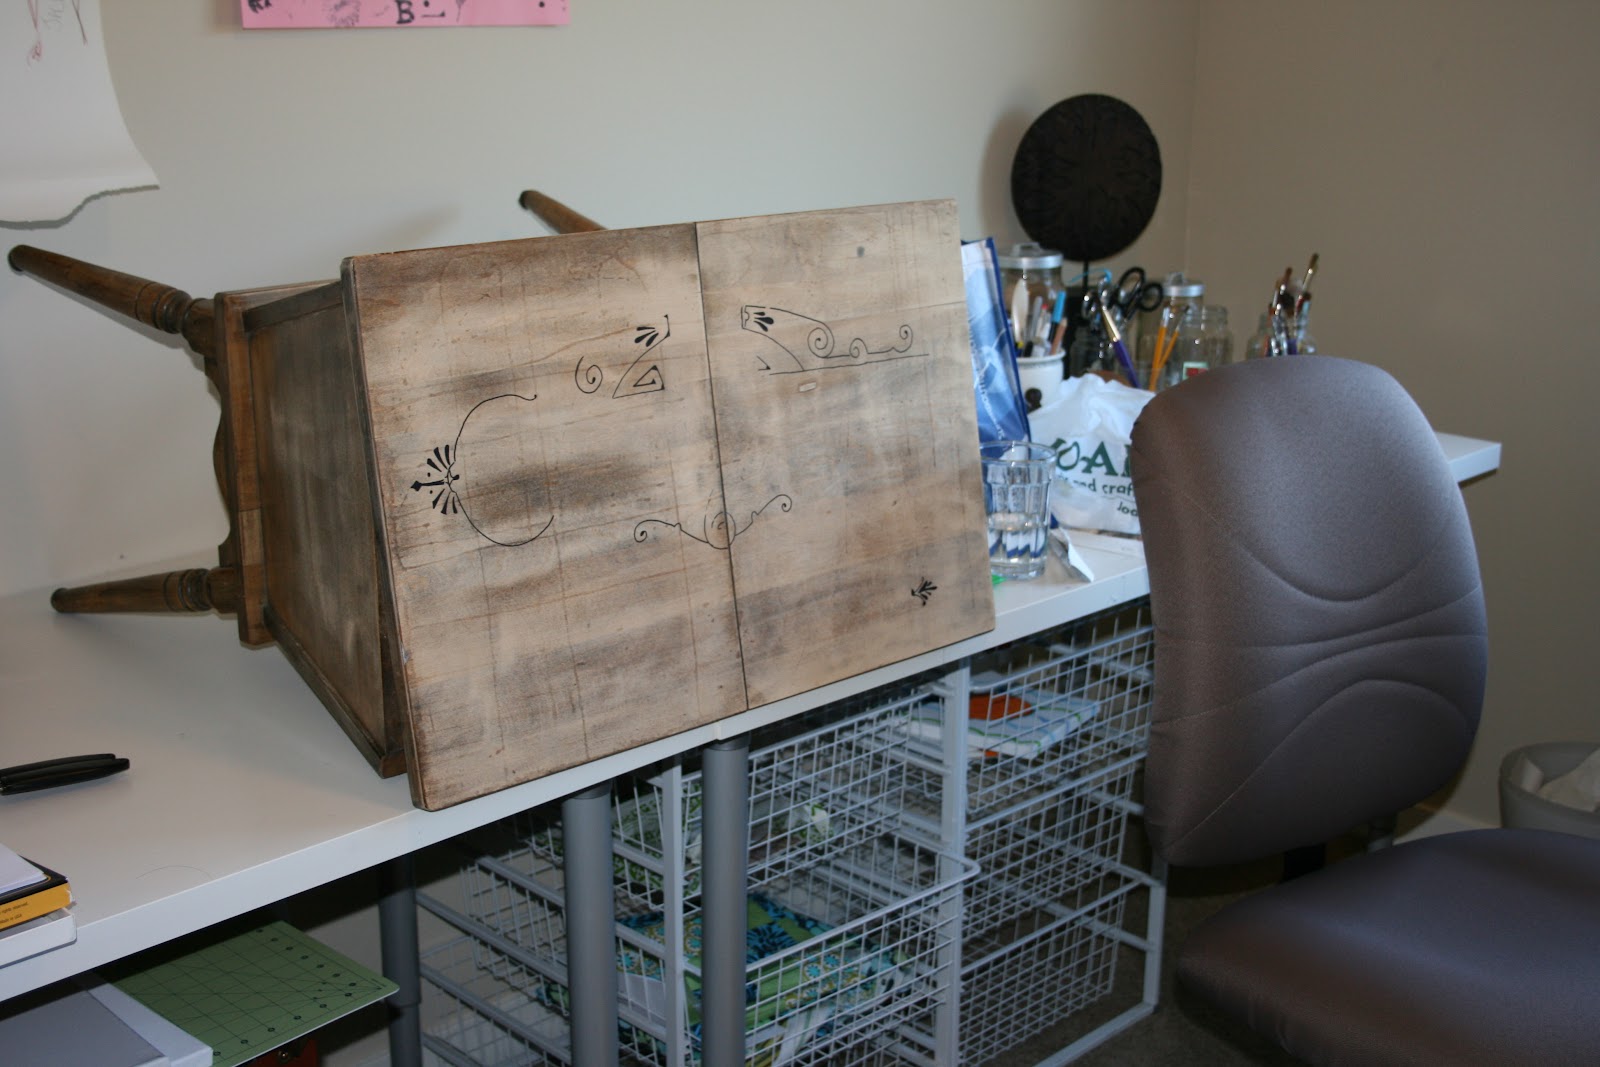
I started with a light sanding, leaving some of it less sanded in places, keeping its old charm. Then, I propped it up on the tables in my (undecorated) craft room so that I could work on the top without bending too much.

I borrowed an overhead projector from work (yep, we still use these bad boys!) and made a transparency on the commercial photo copier. 
Working with a steady hand, I transfered the image.

Once I had the entire image on the lid, I moved the production out to the garage to lightly sand it. I took the wording down a bit to give it an aged appearance. Then I gave it a few coats of espresso stain.


I finished her with two coats of hand-rubbed polyurethane.


 I love the way it adds interest and a little charm without being overbearing or too country. It is a little chocolate sunshine, if you will.

August 10, 2011

Miles of Beaches

This past weekend, we packed up the car and headed out to the coast. It was a wonderful trip! We joined up with some dear friends of ours and their little boy- and it was pure joy to watch the kids playing on the beach!

If you haven't ever been to the Washington (or Oregon coast) then you are missing out! The beaches are HUGE and WIDE and you feel like you could walk forever.
For wee-boy that means he can RUN forever, which is a bonus. Even though you are at the beach, you don't have to panic about the water because there is so much space and time before the little feet can reach it. Plus, the water is COLD! {Not that that stopped someone from drenching through three outfits before I wised up and put him in his swimsuit. Duh.}
Another neat thing about certain parts of the Washington coast is that you can drive your car out on the beach. Since the span from road to water can be quite a trek with chairs, picnic, toys, etc, taking your car out onto the sand is a fun way to go. Wee-boy thought that was pretty funny. 
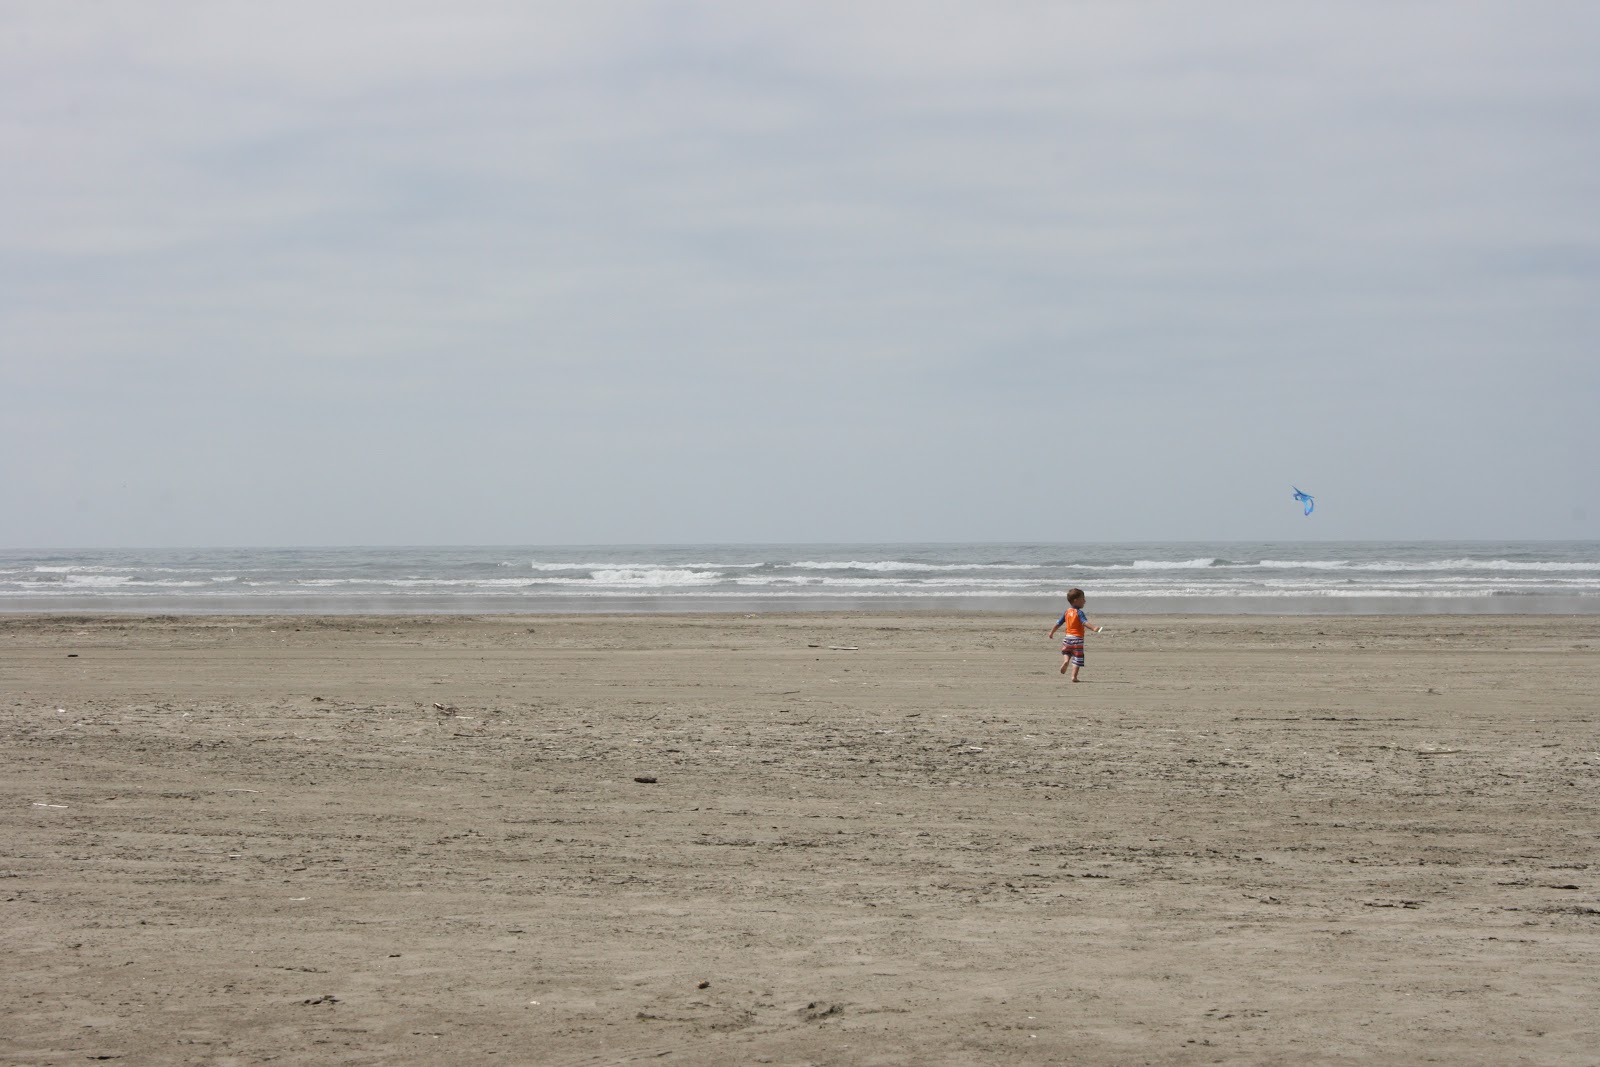
There wasn't much wind, which was good for lounging, but not so good for kite flying. However, we have a *tiny* kite that wee-boy was thrilled to run with.
His BFF sure didn't want to be left out of *that* kind of fun!
Then it was time for a little grub. Seafood seemed fitting for being by the sea. This is one of my favorite recipes from Jamie Oliver; pesto salmon in a foil parcel. Delish. This is wild Alaskan sockeye salmon, which is why it is *so* beautiful and dark pink.
Then we put the kiddos to bed, and watched the sun set from the hot tub.
Falling asleep to the sound of the waves crashing was so peaceful!

In the morning, at low tide, we wandered down to the water's edge for some beach combing.
The sand dollars were plentiful. It is hard to resist the urge to pick them all up and take them home! {'Cause I did that last trip and our guest bath tub was full of sand dollars for the next year! One can only decorate with so many!}
A few did sneak into the car, though...
All in all, an amazing weekend. Makes me daydream about owning a seaside home of our own one day...

Wayfaring

Poking around on Pinterest today and found this.

{via}

I am having to hold myself back from running to the garage to rip apart the rest of the pallet waiting for me down there. This is definitely the project for that!! I think it would be the best piece of art for my classroom!

But I need your help! Which literary places should I highlight? I like the ones pictured, but know there are others I should feature.
Do you have a favorite childhood book with an unforgettable location? Have you read a book recently that would inspire a young reader?
Leave me a comment and let me know!

August 9, 2011

Chocolate Making

I was made to be a student. I love to read. I love to create. I love school supplies. Since I also love chocolate, what better than to combine the two and take a chocolate making class? Turns out the chocolate making class at our local chocolatier is more of a quirky make-and-take experience rather than a class, but it was a fun afternoon nonetheless.


First, we donned paper hats and nametags. Have I told you that I LOVE nametags? Usually because I can't remember your name and I wish you were wearing one. When we meet, please don't be offended if I call you 'Honey'. It is really because I can't remember your name. You can call me Sunshine. Or maybe I should call you Sunshine.

Where was I? Oh yes, chocolate making. Class was held at Boehm's Candies in Issaquah, Washington. It was founded by Julius Boehm in 1943. He was born in Vienna, Austria and made his was to Issaquah where he built a Swiss Chalet to feel like home (also the location of the production facility). Since the area has mountains known as the Issaquah Alps, it makes sense that he felt at home. He was a quirky man, Olympic althlete, and art collector. We got a tour of the production facility as well as his (former) private home.


The equipment is old-school and wonderful.


Mr. Boehm had a unique decorating style. His kitchen cabinets had bells attached to them. All of them.


My favorite kitchen item- custom tiles that were painted with fondue recipes!


Of course for the class I took my trusty sidekick, Moi, with me!


We made vanilla cremes, molded chocolates, rocky road and nut clusters.

We got to decorate a large chocolate bar. My design was really cute in my head. It looked a little wonky in real life, but it was fun to make!

I chose the dinosaur mold for my chocolates. I knew the stegosaurus would be a big hit at home!


The best part (other than taking home almost 2 pounds of chocolate!)? We didn't have to clean up the mess!!


If you have a chocolatier in your area who holds classes, I encourage you to sign up! I can't promise that you will make the best gourmet chocolate, but I bet you will have a great time. Who knows, you may even channel a little bit of Lucy like we did!


PS- I am trying out a new photo size. Let me know what you think!

August 4, 2011

Pallet Project #1

The other day I swung by work to pick up a few things. As a bonus I found this near the dumpster:
 I have been amazed at some of the fun things people are making out of pallets. Headboards, coffee tables, book cases... you name it- it has been made from this wonderful- FREE- wood. The beauty of the pallet is that it is made from random, mismatched wood. They aren't perfect, but they have so much potential! The end result is often a bit on the country side, though, and that doesn't really work with our house at all.

However, I was still eager to play around and build *something*! So, after much debate in my head, I took out the hand saw and made three cuts from the end of the pallet.
 Sitting upright, it makes a bit more sense. Do you know where I am headed with this?
 Since I wanted the little pallet shelf to have a bottom (so it would actually hold something) I pried off another board and whacked it on to the bottom. It wasn't perfect- and didn't have to be!
 It doesn't stand up, but it won't need to.
 Then, I sprayed on a coat of Heirloom White spray paint. I quickly learned that this raw wood should have been sprayed with primer since it sucked up the paint fast! But I just kept spraying- it was fun!
 Then, I took a few deck screws and attached it to a spare wall in the garage. Now I have the perfect perch for all of my spray paint cans- safely out of reach from little hands!
 If our house was more on the country-side, I can imagine a few of these next to a comfy reading chair to hold books and magazines. Fun!

There is wood left over from the pallet. Now if only I could decide what to do with them...

August 3, 2011

Project Central

Hello, Sunshine! Thanks for stopping by! I have had a few friends ask me if I am working on a project right now since they haven't seen me post recently. I giggled! If only you could see my garage right now!!

I am still working through my list of the 21-Day Challenge, the pics just aren't that show-worthy. I am also working on a few ah-mazing wood projects that I can't wait to show you- only I want to wait for all the paint to dry! Once they are in their new homes, I will be sure to let you know. Want a hint? I titled one project, "The Chocolate Box!"

Other projects... yesterday I:

  • Put together a hutch for my wrapping station 
  • Built my new treadmill. Woot Woot! (And worked out on it this morning! Happy Birthday to me!!)
  • Put the last coat of stain on the Chocolate Box
  • Painted a lovely piece of hemlock for an art station for the wee boy
  • Built a shelf for my growing spray paint collection- out of a pallet! 
  • Primed a canvas for a future piece of art
I also:
  • Drooled over some ideas on Pinterest
  • Read up on working with zippers for my future pillow party
  • Hit the hardware store to gather some more project fodder
  • Tidied the craft room
  • Rewashed a load of laundry that *someone* snuck a disposable diaper into (I knew there would be a drawback to teaching the 3yo how to do laundry!)
  • Surfed around for a great vegetarian dish to prepare for a future beach weekend
So, yes, I have been working on projects. Can't wait to show them to you! Stay tuned! What are you working on?